
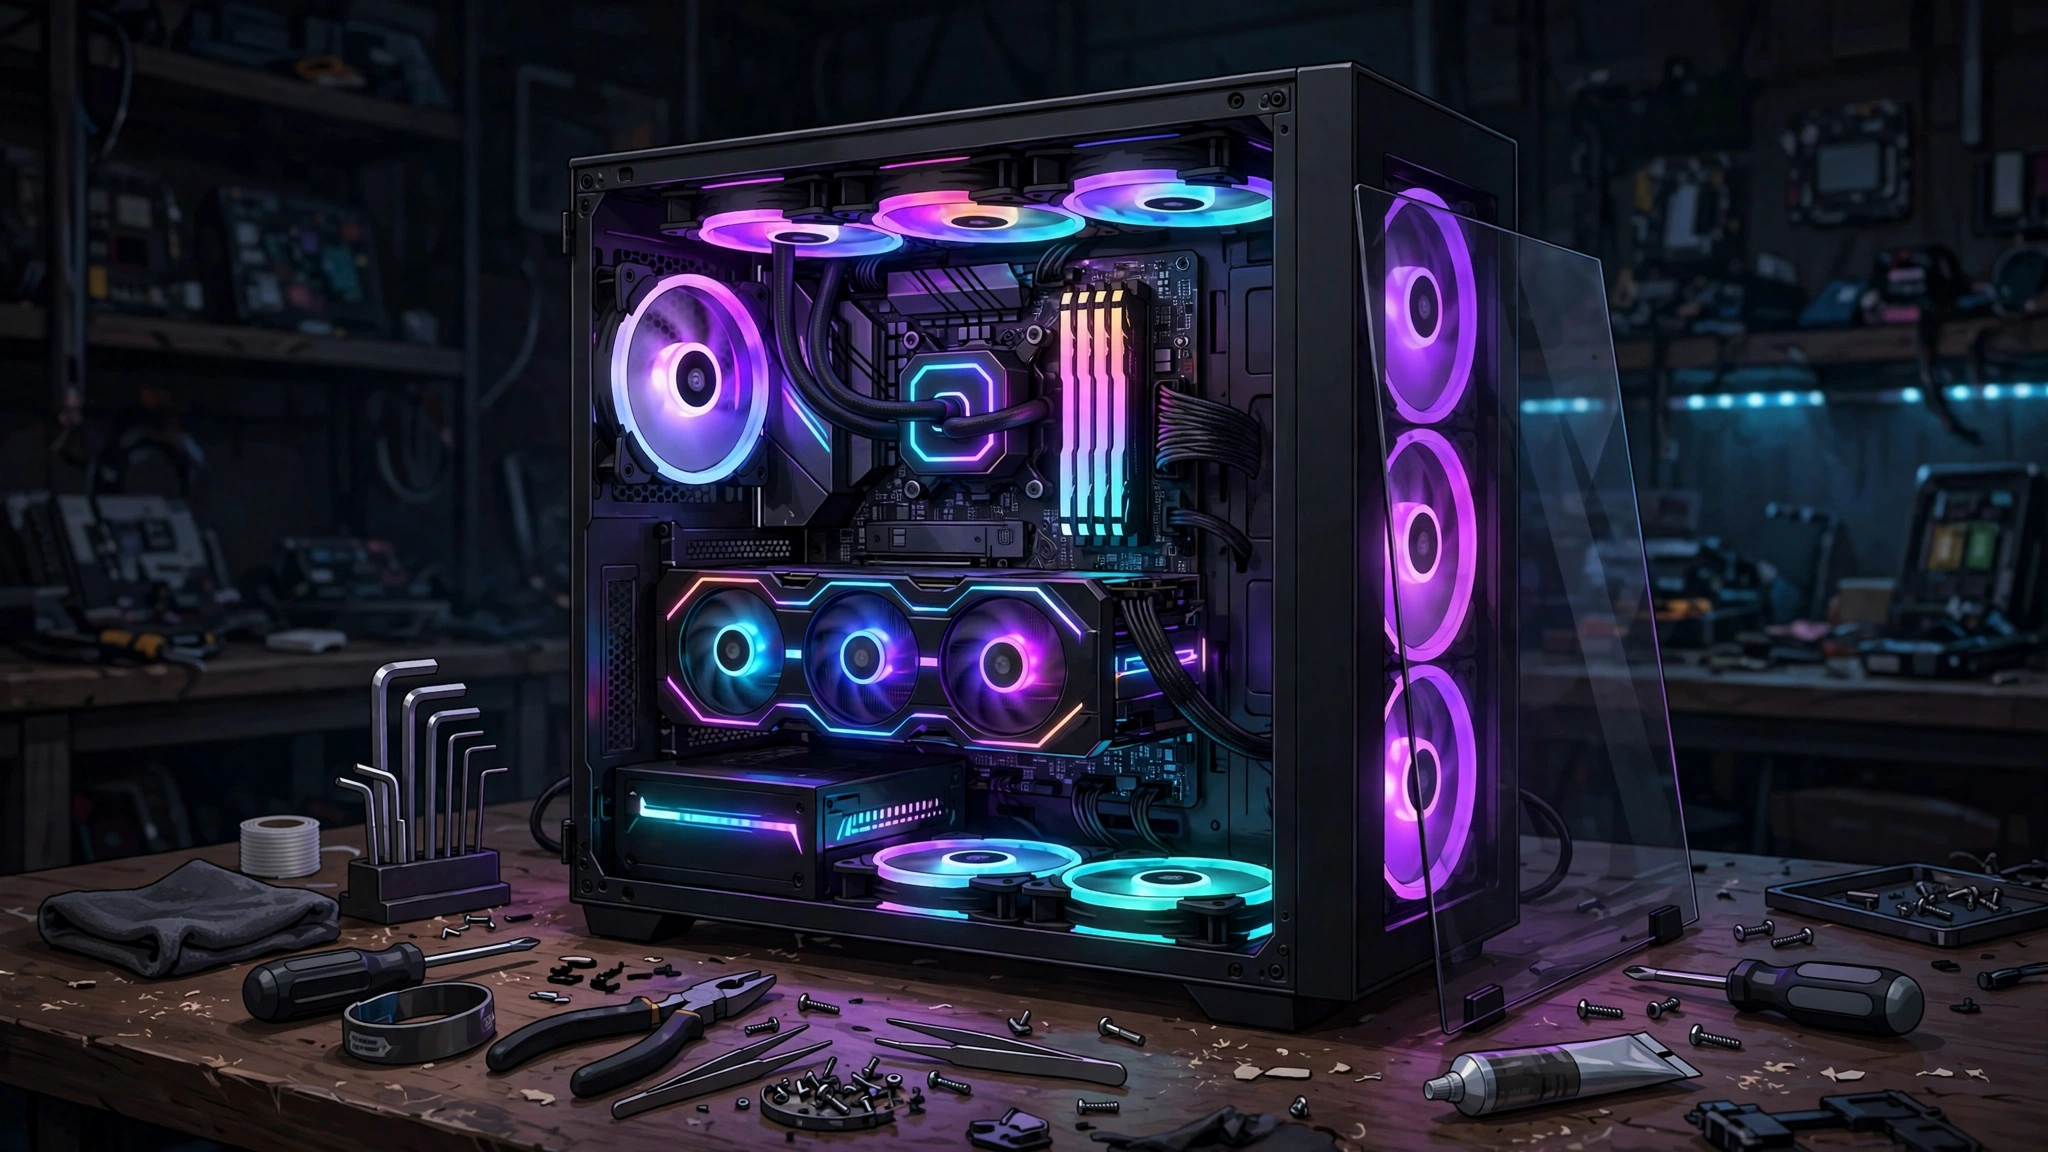
Want to build budget gaming PC but don’t know where to start? Building your own gaming PC sounds intimidating, but it’s essentially expensive LEGO: every part has exactly one place it fits. Doing it yourself saves money, teaches you how your machine works, and makes future upgrades easy. Here’s how to build a capable 1080p gaming PC on a budget.
What You Need: The Parts List
A gaming PC has eight core components:
- CPU (processor) — the brain. A modern 6-core chip is plenty for budget gaming.
- Motherboard — everything plugs into this. Match its socket to your CPU.
- RAM (memory) — 16GB is the sweet spot; get two 8GB sticks for dual-channel speed.
- GPU (graphics card) — the most important part for gaming, and usually the most expensive. This is where most of your budget should go.
- Storage — a 1TB NVMe SSD. Non-negotiable in 2026.
- Power supply (PSU) — never cheap out here. Get a reputable 550–650W unit with an 80+ Bronze rating or better.
- Case — any case that fits your motherboard size (ATX or Micro-ATX) with decent airflow.
- CPU cooler — most budget CPUs include one in the box, which is fine to start.
Where to Spend vs. Save
Spend on: the GPU first, then a quality power supply. These two determine gaming performance and system safety.
Save on: the case, RGB lighting (skip it entirely at this budget), and an oversized motherboard. Aesthetics can wait; frames per second can’t.
How to Build Budget Gaming PC: Step by Step
1. Prep: Clear a large table, ground yourself by touching the metal case periodically (or wear an anti-static wrist strap), and keep your motherboard manual handy — it’s your best friend. Use a compatibility checker like PCPartPicker to make sure your parts work together before you buy.
2. CPU + RAM + SSD on the motherboard first: Do this outside the case where you have room. Lift the CPU socket lever, align the triangle markers, drop the chip in (no force needed), close the lever. Click the RAM into its slots until the tabs snap. Screw the NVMe SSD into its M.2 slot.
3. Mount the motherboard: Install the I/O shield in the case, align the board with the standoffs, and screw it down.
4. Install the PSU and route cables: Mount the power supply, then connect the 24-pin motherboard cable and the CPU power cable.
5. Install the GPU: Remove the appropriate case slot covers, push the card firmly into the PCIe x16 slot until it clicks, secure it with screws, and connect PCIe power cables from the PSU.
6. Cable manage and close up: Tidy cables for airflow, double-check every connection, then close the case.
7. First boot: Connect a monitor, keyboard, and power. Press the power button — you should see the motherboard’s BIOS screen. Install Windows or Linux from a USB drive, then install your GPU drivers.
What Will It Play?
A budget gaming PC built this way handles 1080p gaming beautifully. Expect 60+ fps in competitive titles like Valorant, Fortnite, and Apex Legends at high settings, and smooth 60 fps in AAA games at medium settings. That’s performance matching or beating current consoles — often for less money, especially with cheaper PC game prices and no online subscription fees.
The real win is upgradability. When you build budget gaming PC systems yourself, every component is a future upgrade path. Start with a solid motherboard and power supply, and in a couple of years you can drop in a faster GPU or more RAM. Try doing that with a console.
Common Beginner Mistakes
- Forgetting the motherboard standoffs (causes short circuits).
- Not pushing the RAM in until it clicks.
- Buying an underpowered or no-name PSU.
- Plugging the monitor into the motherboard instead of the GPU.
The Bottom Line
Take your time, follow the manuals, and don’t force anything — parts only fit one way. In an afternoon, you’ll have a gaming PC that outperforms consoles at a similar price, built with your own hands. When you build budget gaming PC rigs yourself, upgrading in a few years is easy — you’ll already know exactly how.
One thought on “How to Build a Budget Gaming PC: A Beginner’s Guide”
Comments are closed.